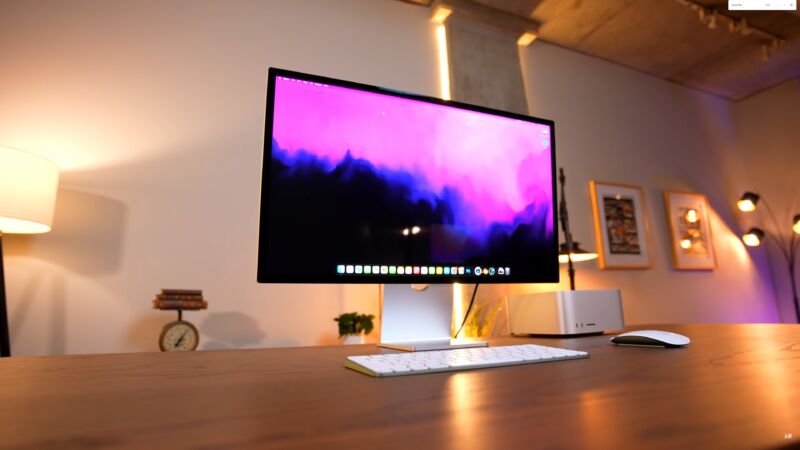
Intro: Apple's Studio Display is much less expensive than its $5,000 Pro Display XDR. But with a starting price of $1,600, it's not cheap. For those who need 14,745,600 pixels, though, like video editors and graphic designers, there are few options besides Apple's costly monitor, especially since Apple discontinued its 27-inch 5K iMac desktop upon announcing the Studio Display in March.
DIY Apple Studio Display uses 2014 iMac to save $730
YouTuber strips old iMac of its components and turns it into a 5K monitor.

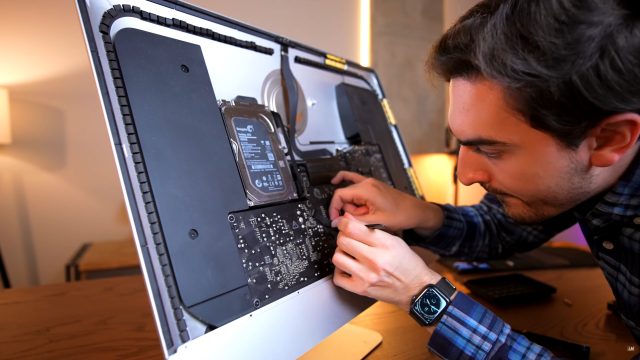
" . . That didn't stop YouTuber Luke Miani from finding an old iMac and turning it into a makeshift Studio Display for about $870, webcam and 5K included.

In a video describing the process, Miani noted that the panel performance of the Studio Display is similar to what Apple has been offering for years, so he opted to use a 2014 iMac rather than the most recent 2020 27-inch iMac for his project. The iMac cost Miani $620, he said.
Miani decided not to use Sidecar—a feature that allows you to use an iPad as a second monitor for a Mac—because it requires a functioning iMac and presents potential latency concerns. Apple's "target display mode," which lets you use an iMac as a monitor, doesn't work with newer iMacs and requires a connection to a Mac from 2019 or earlier with macOS Catalina or earlier. So instead, Miani stripped the iMac of its components and turned it into a 5K monitor.
- Miani also purchased an HDMI adapter, noting that finding a conversion board that would work with 5K was "quite tricky."
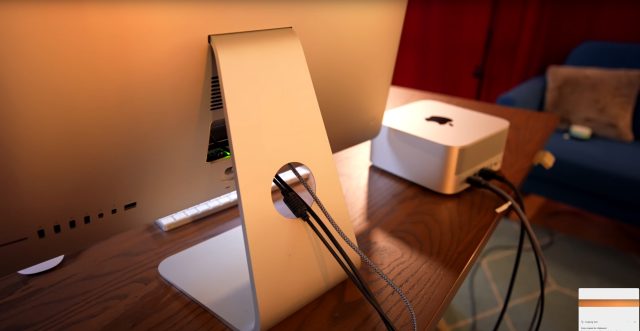
- Miani also spent $12 on a USB-C-to-DisplayPort cable before putting the pieces together. "I wired up the LED driver and the LVDS connection and taped it up roughly on the back of the panel, then connected a USB-C to DisplayPort 1.4 cable and the 12 volt power supply," Miani said in the video. "Then I ran the wires through the back of the case by popping out the RAM access door, which is very convenient for this type of project."
- Since the Studio Display has a webcam, Miani wanted to make sure to include one in his project. The one that comes with the 2014 iMac was hard to use due to its ribbon cable serving other parts, like the microphones and ambient light sensor. So Miani removed the 2014 webcam and replaced it with a USB camera meant for use with something like a Raspberry Pi or Arduino. It cost him around $30, he said, plus $9 for a USB-A-to-C extension.
The DIY monitor retains Mac functions, including the ability to use scaling options and Night Shift, according to Miani.
The YouTuber said the only obvious physical difference is the wires sticking out of the RAM hatch.

- Also, the monitor doesn't support P3 color spaces. That's a downgrade compared to the Studio Display and LG's 27-inch UltraFine 5K monitor, which claims 99 percent of DCI-P3 coverage. However, as Miani explained, this could be remedied by using an iMac that came out in 2015 or later. . .
- Miani said that in side-by-side comparisons, the DIY Apple Studio had worse black levels, backlight bleed, and contrast. He recommended using a newer-model iMac for improved display performance, but he said that the image quality of the DIY monitor is "pretty close" to the Studio Display. The differences are hard to spot in comparison images he shared.
Ultimately, the system in the video cost $871, including iFixit's $19 display adhesive strips. But you could save money if you don't want a webcam or are willing to start with a broken iMac rather than a fully functioning one.
Miani gets into the nitty-gritty of the financials and what it took to make a more affordable Studio Display in the video below.


No comments:
Post a Comment